Last Updated on 27 August, 2020
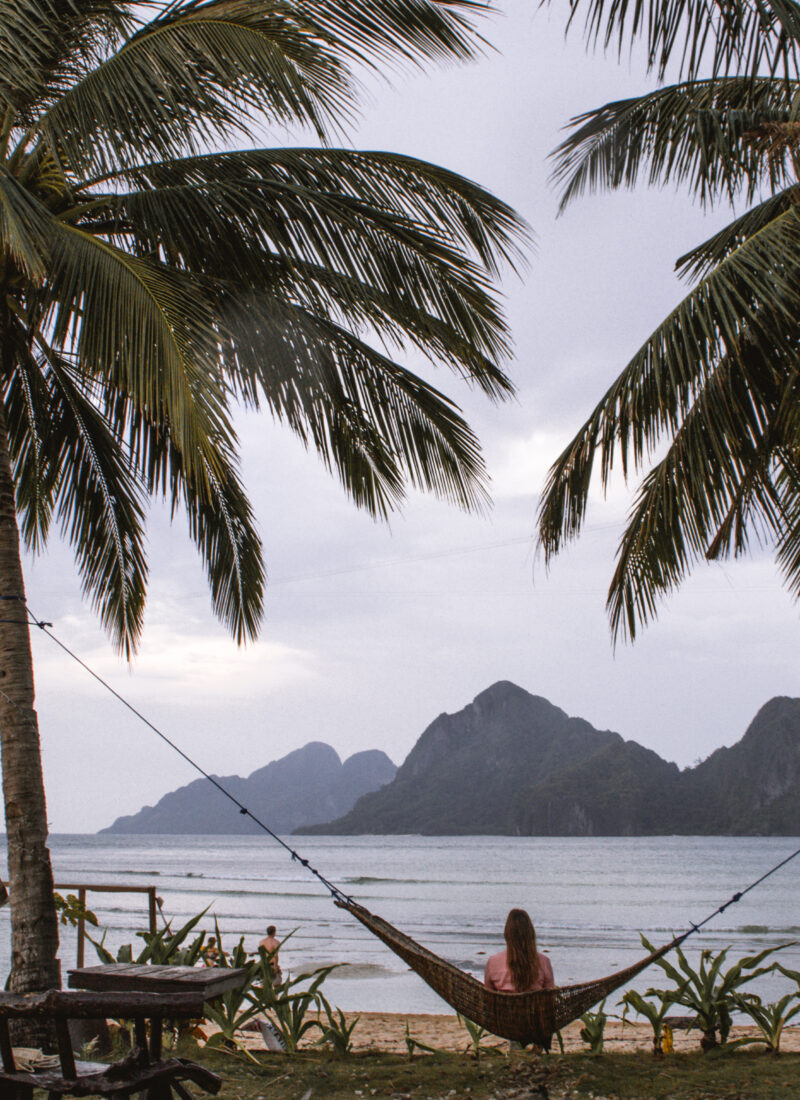
To go to El Nido and not explore the beautiful islands, lagoons and white powdery beaches would be a serious crime. Palawan has been rated as the “Most Beautiful Island in The World” for a reason after all! While the best way to see those stunning places is by going on an island hopping tour (and I highly recommend it), actually renting a kayak and visiting some more local, remote beaches yourself can be very rewarding too, if not more.
It’s fun sitting on a boat during an island hopping tour, kicking back and just enjoying the views and swimming in the water, and maybe making new friends. However, with all that, comes the crowds. That is okay and totally worth it to see the big lagoon, for example. But if you’re not really a crowd person, and want something more quiet and remote with no other tourists around, and you like a bit of adventure and not scared to work for it, then you should definitely rent a kayak at least once during your trip!
In this guide, I will tell you about my experience kayaking in El Nido and everything else you need to know to be able to do it yourself.
Where to rent a kayak
During my stay in El Nido, I have seen kayaks for rent in Las Cabañas Beach and El Nido Town. El Nido Town is the main hub and more places do kayak rental, so you’re probably more likely to have better luck in terms of kayak availability and the price. However, when passing by I noticed that only Las Cabañas Beach had clear kayaks.
We were staying in El Nido, so we rented a kayak from a tour operator called My Adventures Travel and Tours located on Rizal Street (indicated with a purple star on the map below). We went there at around 10 am and they had to check if there were any kayaks left. Luckily, there were some left. They gave us the paddles, life jacket, and snorkels (for an additional fee) and took us to the beach to show us to our kayak.
Another place that I am aware that does kayak rental is El Nido Boutique Artcafé (indicated with a green star on the map below) and on their website, they have pictures of clear kayaks so they might have them for rent. The café is just a few minutes walk from the place that we rented from.

Read More: The Ultimate Travel Guide to El Nido, Palawan (The Philippines)
How much does it cost
We rented our kayak for the whole day for 700php (~£11) which included paddles and life jacket and paid extra 200php (£3) for two snorkels. While this might not seem a lot for two people for the whole day, we didn’t check the prices anywhere else. From looking at El Nido Boutique Artcafé website, for that price, we could have gotten clear kayaks (if they have them) or standard kayaks for 500php. So Artcafé is a better deal and as mentioned earlier, only a few minutes walk from My Adventures Travel and Tours. Also, we only had a kayak for a half day, so we could have saved money there, but since it was our first time paddling in the sea and this location we had no idea how long it was going to take us and we didn’t want to rush. We didn’t end up using the snorkels either and almost lost them.
Where are the beaches
From El Nido Town
Several beaches that can be reached by a kayak from El Nido Town which is perfect because that means there will be unlikely lots of people on the same beach. Most of the beaches are located on Cadlao Island.
Once we were shown to our kayak in El Nido, then we were on our own. We hopped into it and started paddling towards Cadlao Island which is straight ahead of you and impossible to miss. We manoeuvred between the boats closer to the shore and then we were in the open space where the stunning views opened up. The water was calm, the sun was shining and we paddled at a nice, steady pace. The sense of freedom came over me and I was very excited to see all those beautiful beaches.
The three beaches marked in this map below are the beaches I will be referring to.

Beach No.1 (Paradise Beach)
We paddled towards the first stretch of sand on Cadlao Island which is Paradise Beach and it took us about 30min. It’s one of the longer beaches compared to other ones that we went to. It was really exciting reaching our first stop with nobody on it! We relaxed a bit, searched for coconuts and took some photos before we were eager to get back on the water and carry on exploring! As we were leaving someone else arrived.

[columns size=”1/2″ last=”false”]

[/columns]
[columns size=”1/2″ last=”true”]

[/columns]
Beach No. 2
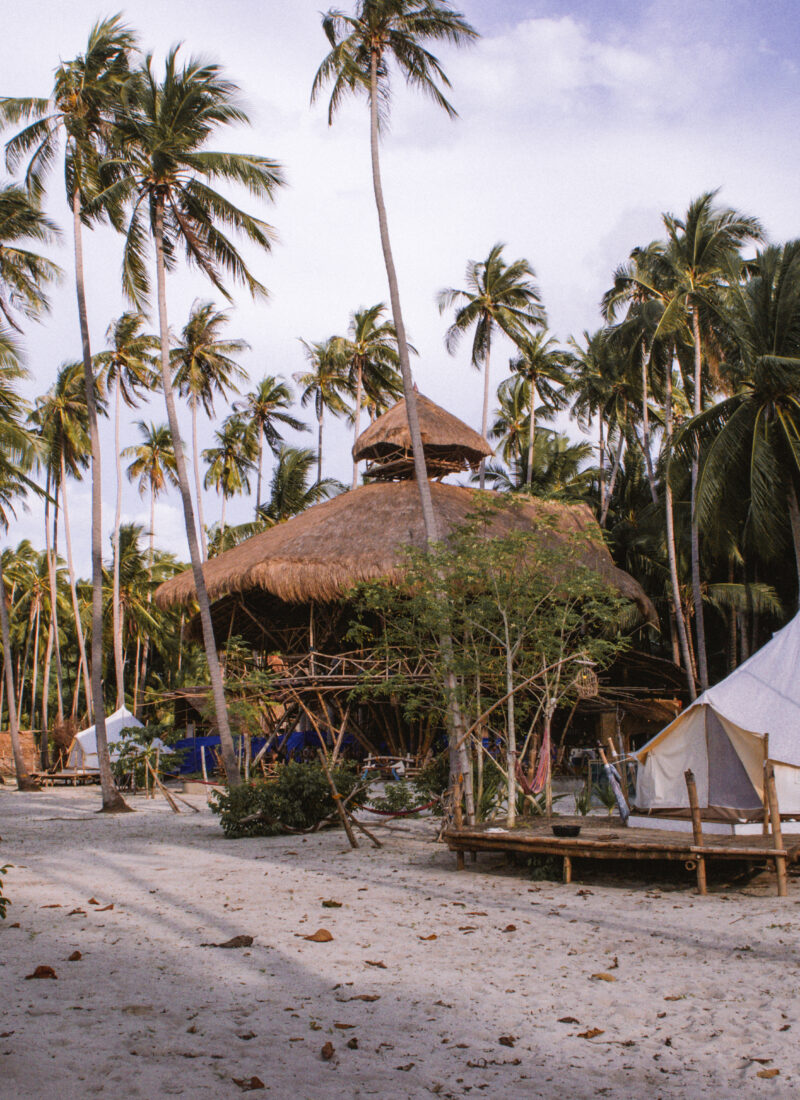
We continued paddling along Cadlao Island and we saw lots of stretches of white sand and tall palm trees. We also passed this one beach with wooden stairs on it leading up to some treehouse or something, looked quite intriguing but we didn’t stop and carried on. About 30min later we decided to stop at another beach (number 2 on the map below). It doesn’t seem to have a name on Google maps, but it’s not far from Pasandigan Cove. As we were approaching the shore, we realised there was a little hut and somebody was living there. There were dogs, chicken and a small girl running around. We got off the kayak a bit further away from them and sat down on the sand to eat some snacks when we saw a little girl grabbing a dog, running towards the water and throwing it into the sea… Some moments later, the dogs started barking at us (for the first and only time during our two-week stay in El Nido) and we started feeling slightly uncomfortable since there was no one else around but that little girl. We took the paddles and went into the water as a precaution in case those dogs decided to attack us. In the meantime, they inspected our belongings, ate the crumbs we dropped on the sand and peed on my drybag (thank god, it’s waterproof lol!). We waited a little longer in the water and when the dogs eventually walked a little further away from us, we packed everything, washing the drybag first of course, and got out of there.
There are lots of other beaches before and after this particular beach, so if you’d prefer to avoid this beach then feel free to do so.

Beach No. 3 (Ipil Ipil Beach)
We were so tempted to paddle to Helicopter Island whose a very long white stretch of sand from far looked so appealing, but it seemed double the distance we had done already. We figured that we might not be able to come back especially because it was past midday.
Instead, we chose another beach that was on the way back. We paddled to Ipil Ipil beach (number 3 on the map below) which took us around 30min. As we were approaching it, someone else on a kayak quickly left and it was just us enjoying the white sand and azure water. We finished our snacks, relaxed a bit, played in the waves and got covered in sand from head to toe. The big waves were fun to play in, but when we eventually decided to make our way back we realised that it was trickier to get back in a kayak than we thought. I sat at the front of the kayak when I saw a massive wave come towards me… it threw me out and I landed on the sand on my right side. I then saw our flip flops, snorkels and bag with food floating in the water which we somehow managed to save. It was rather hilarious, but my hip was burning as I had bruised it. We then figured that every fifth or so wave was a small one and we managed to escape…


We then paddled back to El Nido Town as we were quite tired. This little adventure took us around five hours and I felt that it was enough. I think it’s possible to do it for the whole day, but maybe relaxing more on the beaches rather than paddling more.
You can also change the route – it’s totally up to you! Ipil Ipil was my favourite beach. Further down from it there is Ipil Beach 2 and then a bit further down there is Seven Commandos Beach which is part of Island Hopping Tour D. Seven Commandos Beach has a nice area where you can play volleyball, trees are full of monkeys and you can get buy some coconut water!
From Las Cabanãs Beach
Since I didn’t rent a kayak on Las Cabanãs Beach I cannot give you specific recommendations on where to paddle and what the beaches near it are like. But from looking at Google Maps, I can see that there are stretches of white sand not too far from it as well as Pinagbuytan Island. I cannot imagine them being less beautiful than what we saw, just hope there are no barking dogs!

What to pack
There isn’t much that you can take with you on a kayak but there are some things that are a must. The two most important things are water and sunscreen since you’re going to be in the sun pretty much all day. Wearing a hat is also very important and highly recommended, and choose the kind of hat that won’t get blown off, e.g. a baseball cap. You should also pack some food to snack on each island, but I wouldn’t recommend packing something like a sandwich since it will be kept in the sun all day. In terms of electronic gear, a waterproof camera and a waterproof phone case are highly recommended. I also packed my DSLR camera but I kept it safely in a dry bag which is another thing that you will need to keep your belongings dry. Only water and food we put in a plastic bag and kept it by our feet. One thing I forgot to pack, but I would also recommend, is a whistle – in case you need help for anything and need to get someone’s attention.
- At least 2 litres of water
- Snacks (mangoes, bananas, nuts, biscuits)
- Waterproof sunscreen
- Baseball cap
- Sunglasses
- Waterproof camera
- Waterproof phone case
- Dry bag
- Whistle
Read More: A Two Week Packing Guide for The Philippines (PDF version here)
Read the ultimate travel guide to El Nido, The Philippines here.
Save this post on Pinterest for later!


Leave a Reply